I will explain how to start kotlin with Intellij IDEA. (If you want to begin with command line, without ide, the article “Start Spring Boot with Gradle” will help a little.)
Preparation
Intellij IDEA Community Edition supports Kotlin.
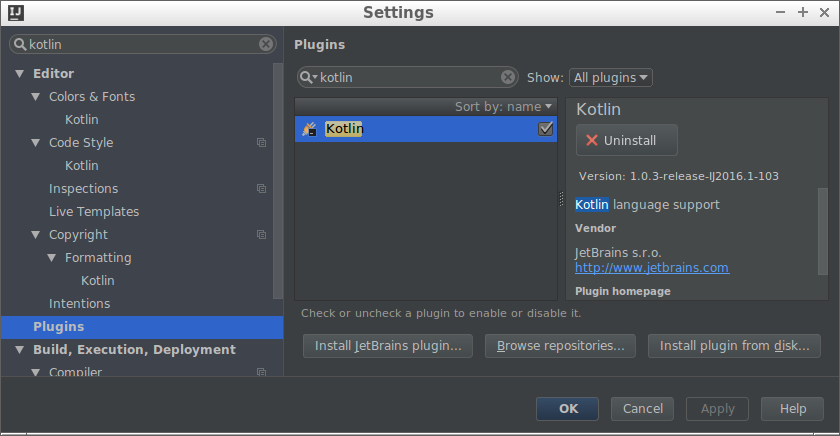
First install the plugin of Kotlin. If you use Linux, go to File, Settings and you can install Kotlin Plugin. Click the button below, “Install JetBrains plugin…” and search Kotlin plugin and install it.
After installation, you can see the dialog below.
Create Project
Create a Kotlin project. Go to File, New, Project, and choose Gradle at the left side of the shown dialog, and check Kotlin at the right side. You can also check Java, but it’s not necessary.
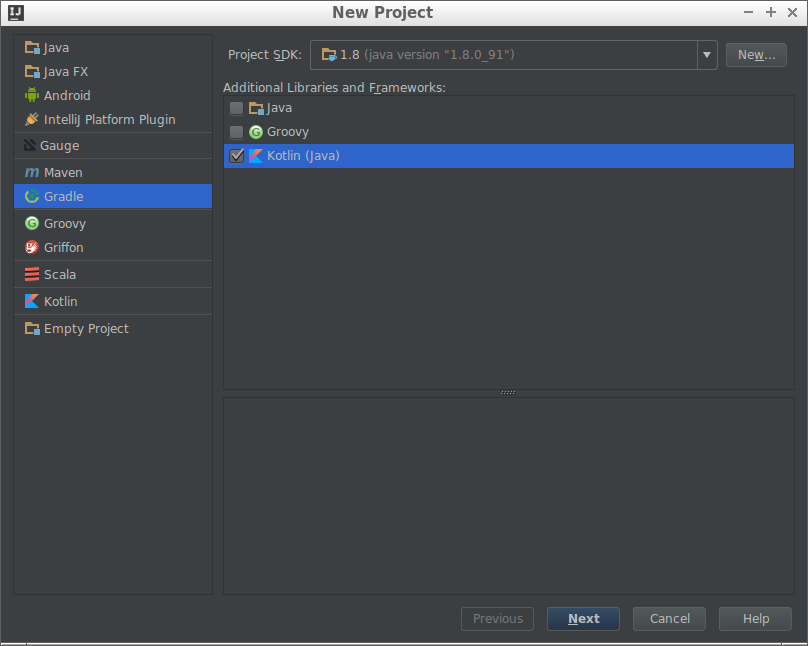
Of course you could choose Kotlin instead of Gradle, at left side. But we owe to Gradle in many cases, so I recommend Gradle.
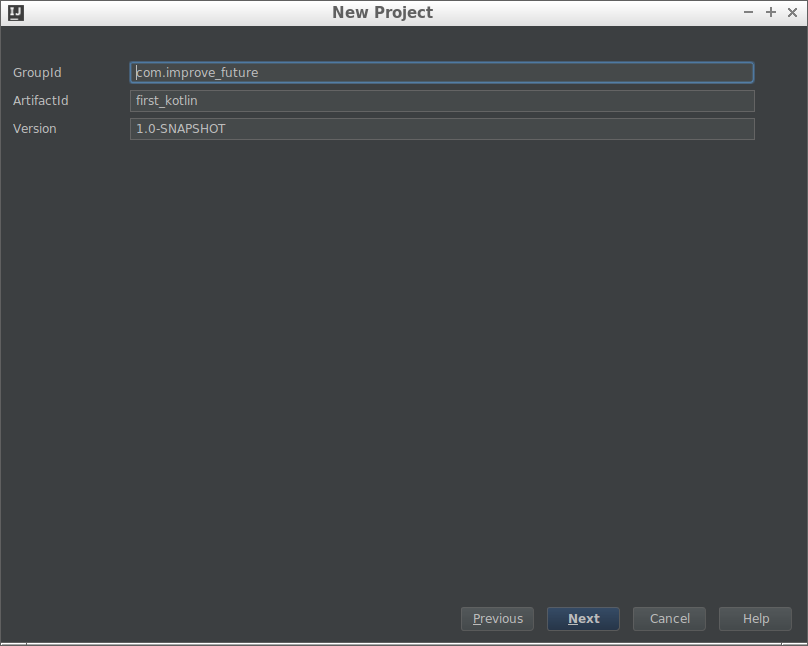
Click the Next button, and input GradleId and ArtifactId. (reference: GROUPID, ARTIFACTID とはなにか)
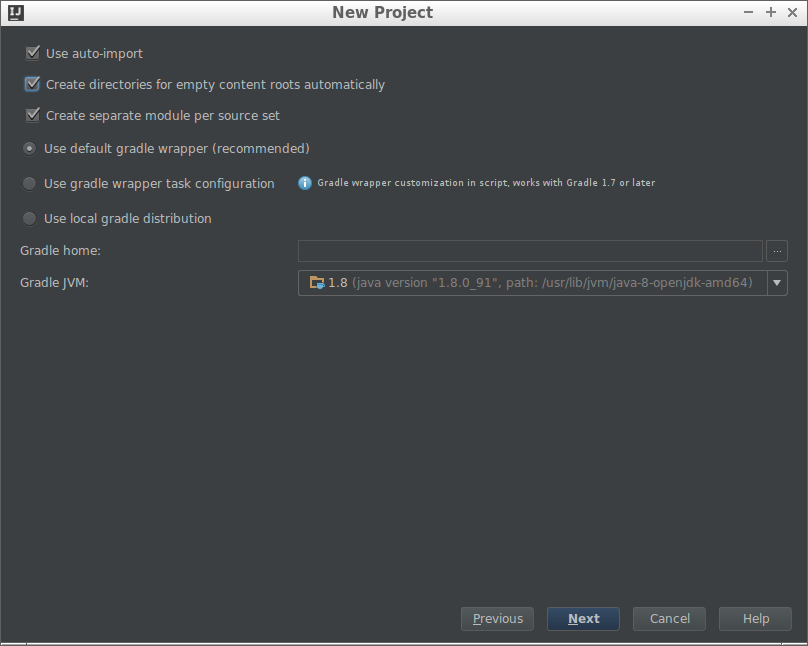
Next, Gradle setting. Check above 2 item “Use auto-import” and “Create directories for empty content roots automatically“. If you don’t want to check them, it’s ok but they help our developing.
At last, confirm the project directory.
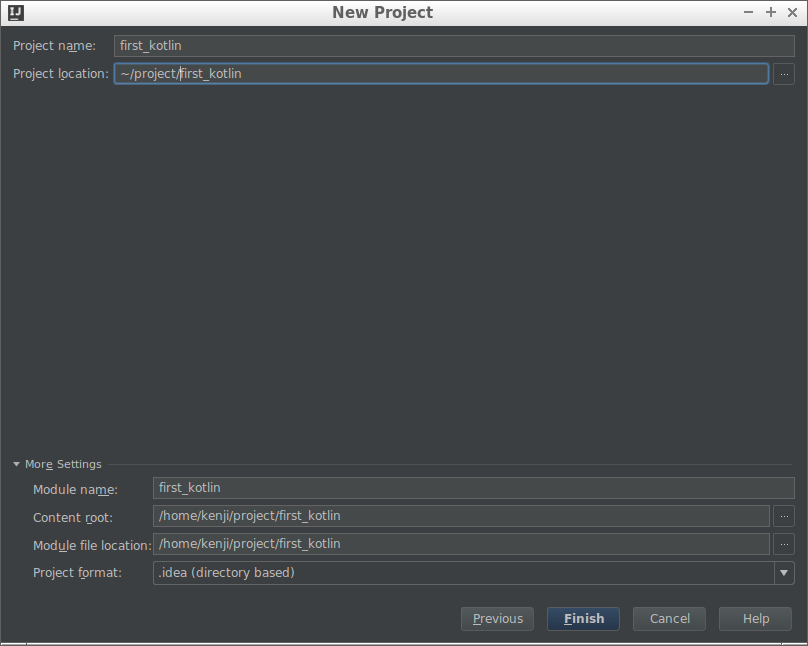
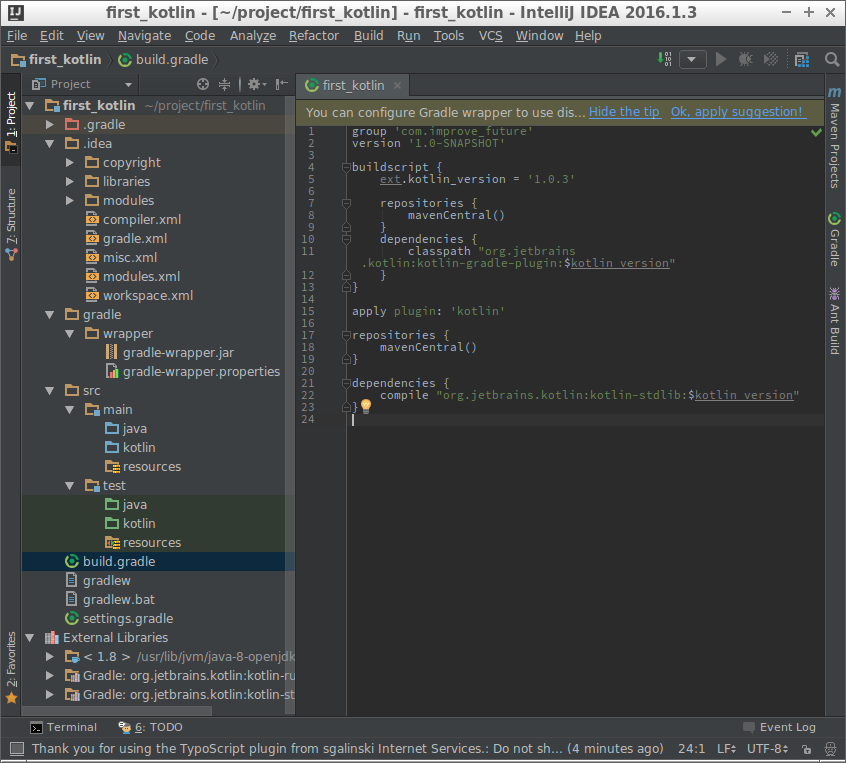
The wizard create file and directory structure as below.
Write Something
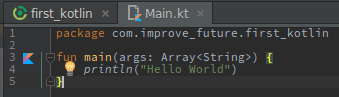
Create the file src/main/kotlin/com/improve_future/first_kotlin/Main.kt, and write the following code.
|
1 2 3 4 5 |
package com.improve_future.first_kotlin fun main(args: Array<String>) { println("Hello World") } |
Then, you can see Kotlin mark at the left side of fun main line.
Click that mark and choose Debug, then the debug window appears and start debugging.

At this article, I explained how to create Kotlin project and create main function in IDEA.


 gradle で始める Spring Boot はじめの一歩")
 Spring Boot と データベースマイグレーション (1/2)")
 Kotlin 1.2.0 + Spring で Web Application を作る (1 of 4)")