Install procedure of PostgreSQL for Windows, in Jan 2018.
Environment
Here, I wrote the article based on my try in Windows 10, but it is almost the same in Mac.
- Windows 10
Install Procedure
-
Click the link
Download the installer
, in PostgreSQL Windows installer page. Then Enterprise DB page will appear. -
Choose the version of PostgreSQL, which you want to install. And choose your computer OS. When I wrote this article, the latest version was 10.1.
Click “Download Now” button, and download the installer. In my case,
postgresql-10.1-3-windows-x64.exewas downloaded.You can also download the softwares for Mac and Linux in the same page.
-
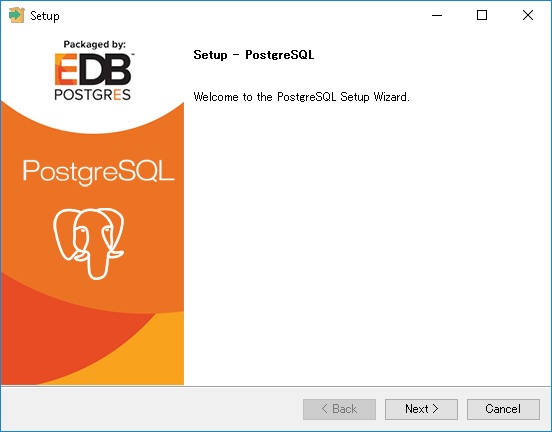
Launch the installer.
-
Click “Next“.
-
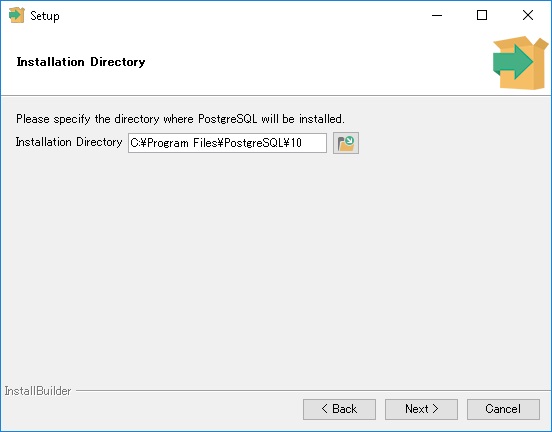
The text box of install destination. In many cases, it can be left as default.
-
Choose softwares you want to install.

If you want to install DB, check PostgreSQL Server.
If you want to install tools to connect to the database, check pgAdmin 4, DB client software.
If you want to install related tools, check Stack Builder. For many people, it is not so necessary.
If you want to handle or investigate the database, check Command Line Tools. pgAdmin 4 has functions which requires Command Line Tools, then it is better to check it if you install pgAdmin 4.
-
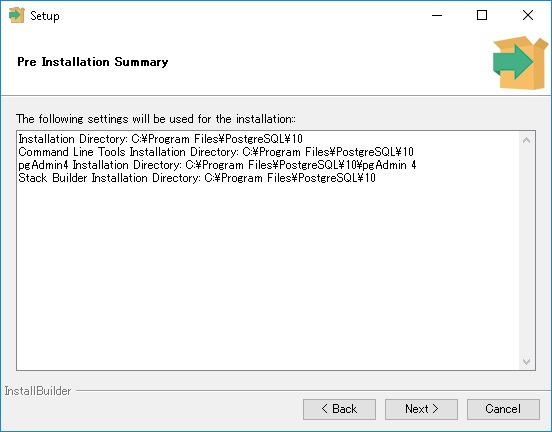
The install destination and softwares will be shown. Confirm and go next.
-
Last confirmation message will be shown. Click “Next” and install the softwares.

-
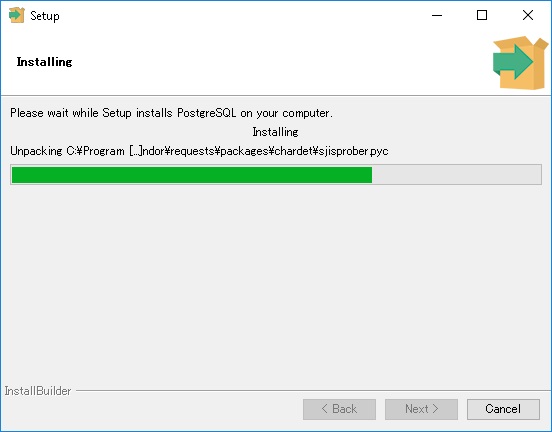
Installing progress will be shown.
-
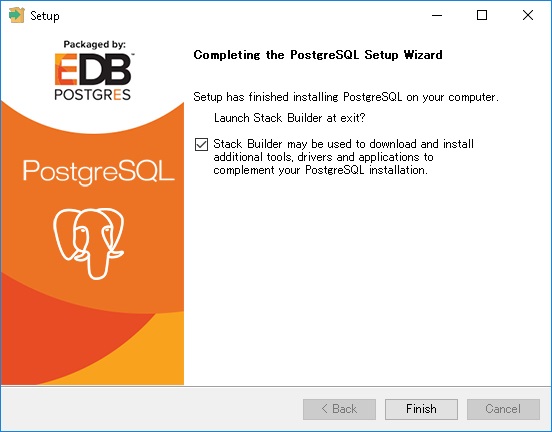
Finally, click “Finish“. If you want to use Stack Builder, check it. It is not necessary for most people.
After the installation, you can use the softwares from start menu.


